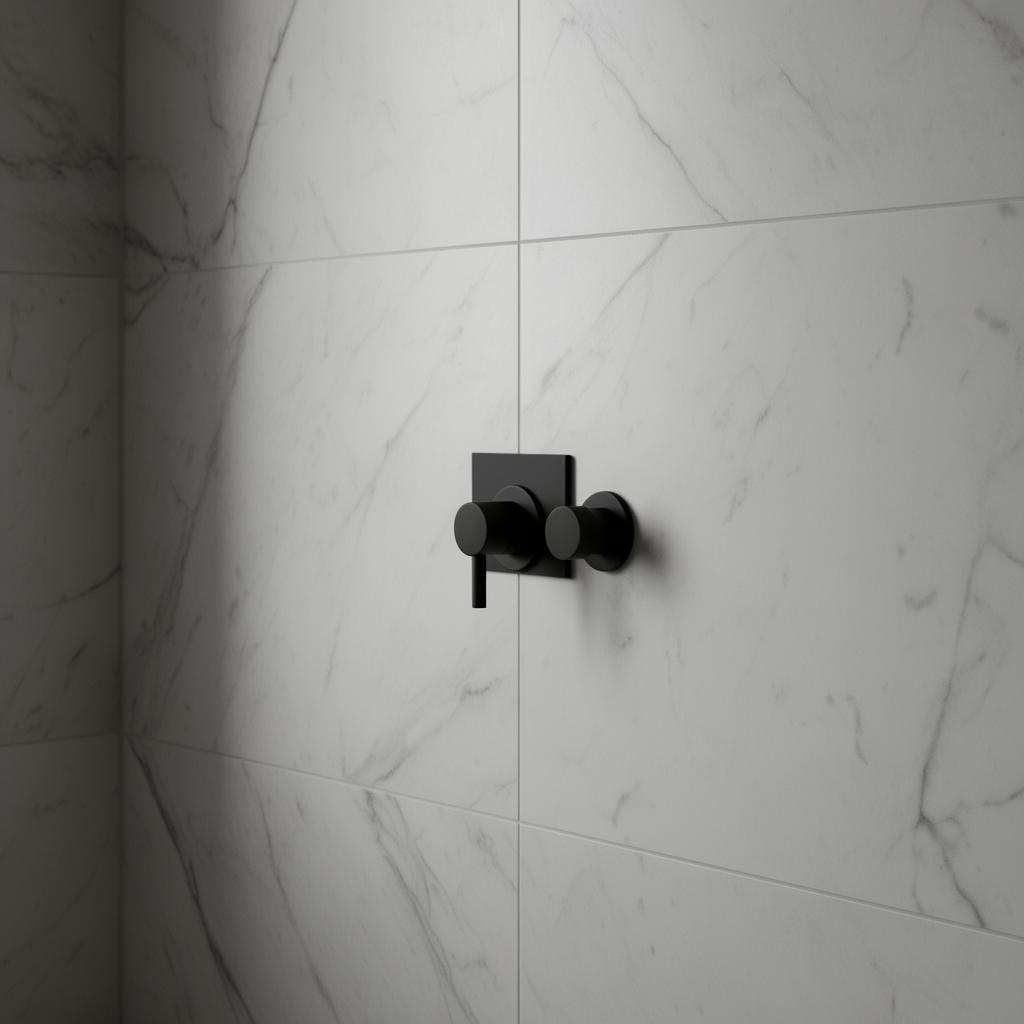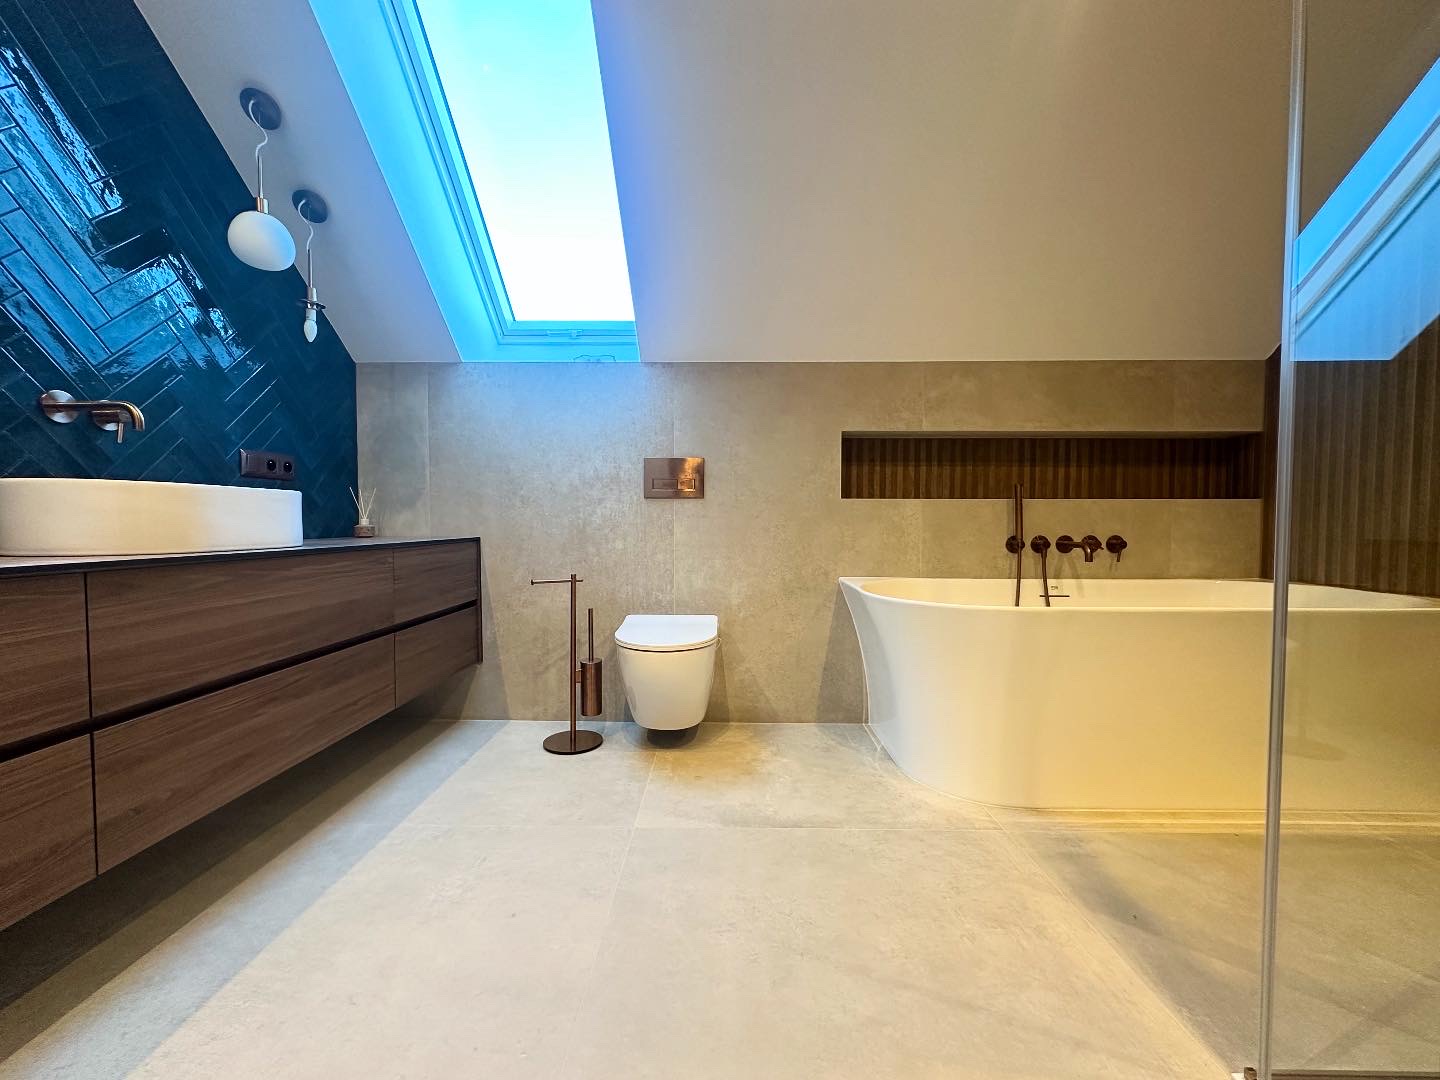
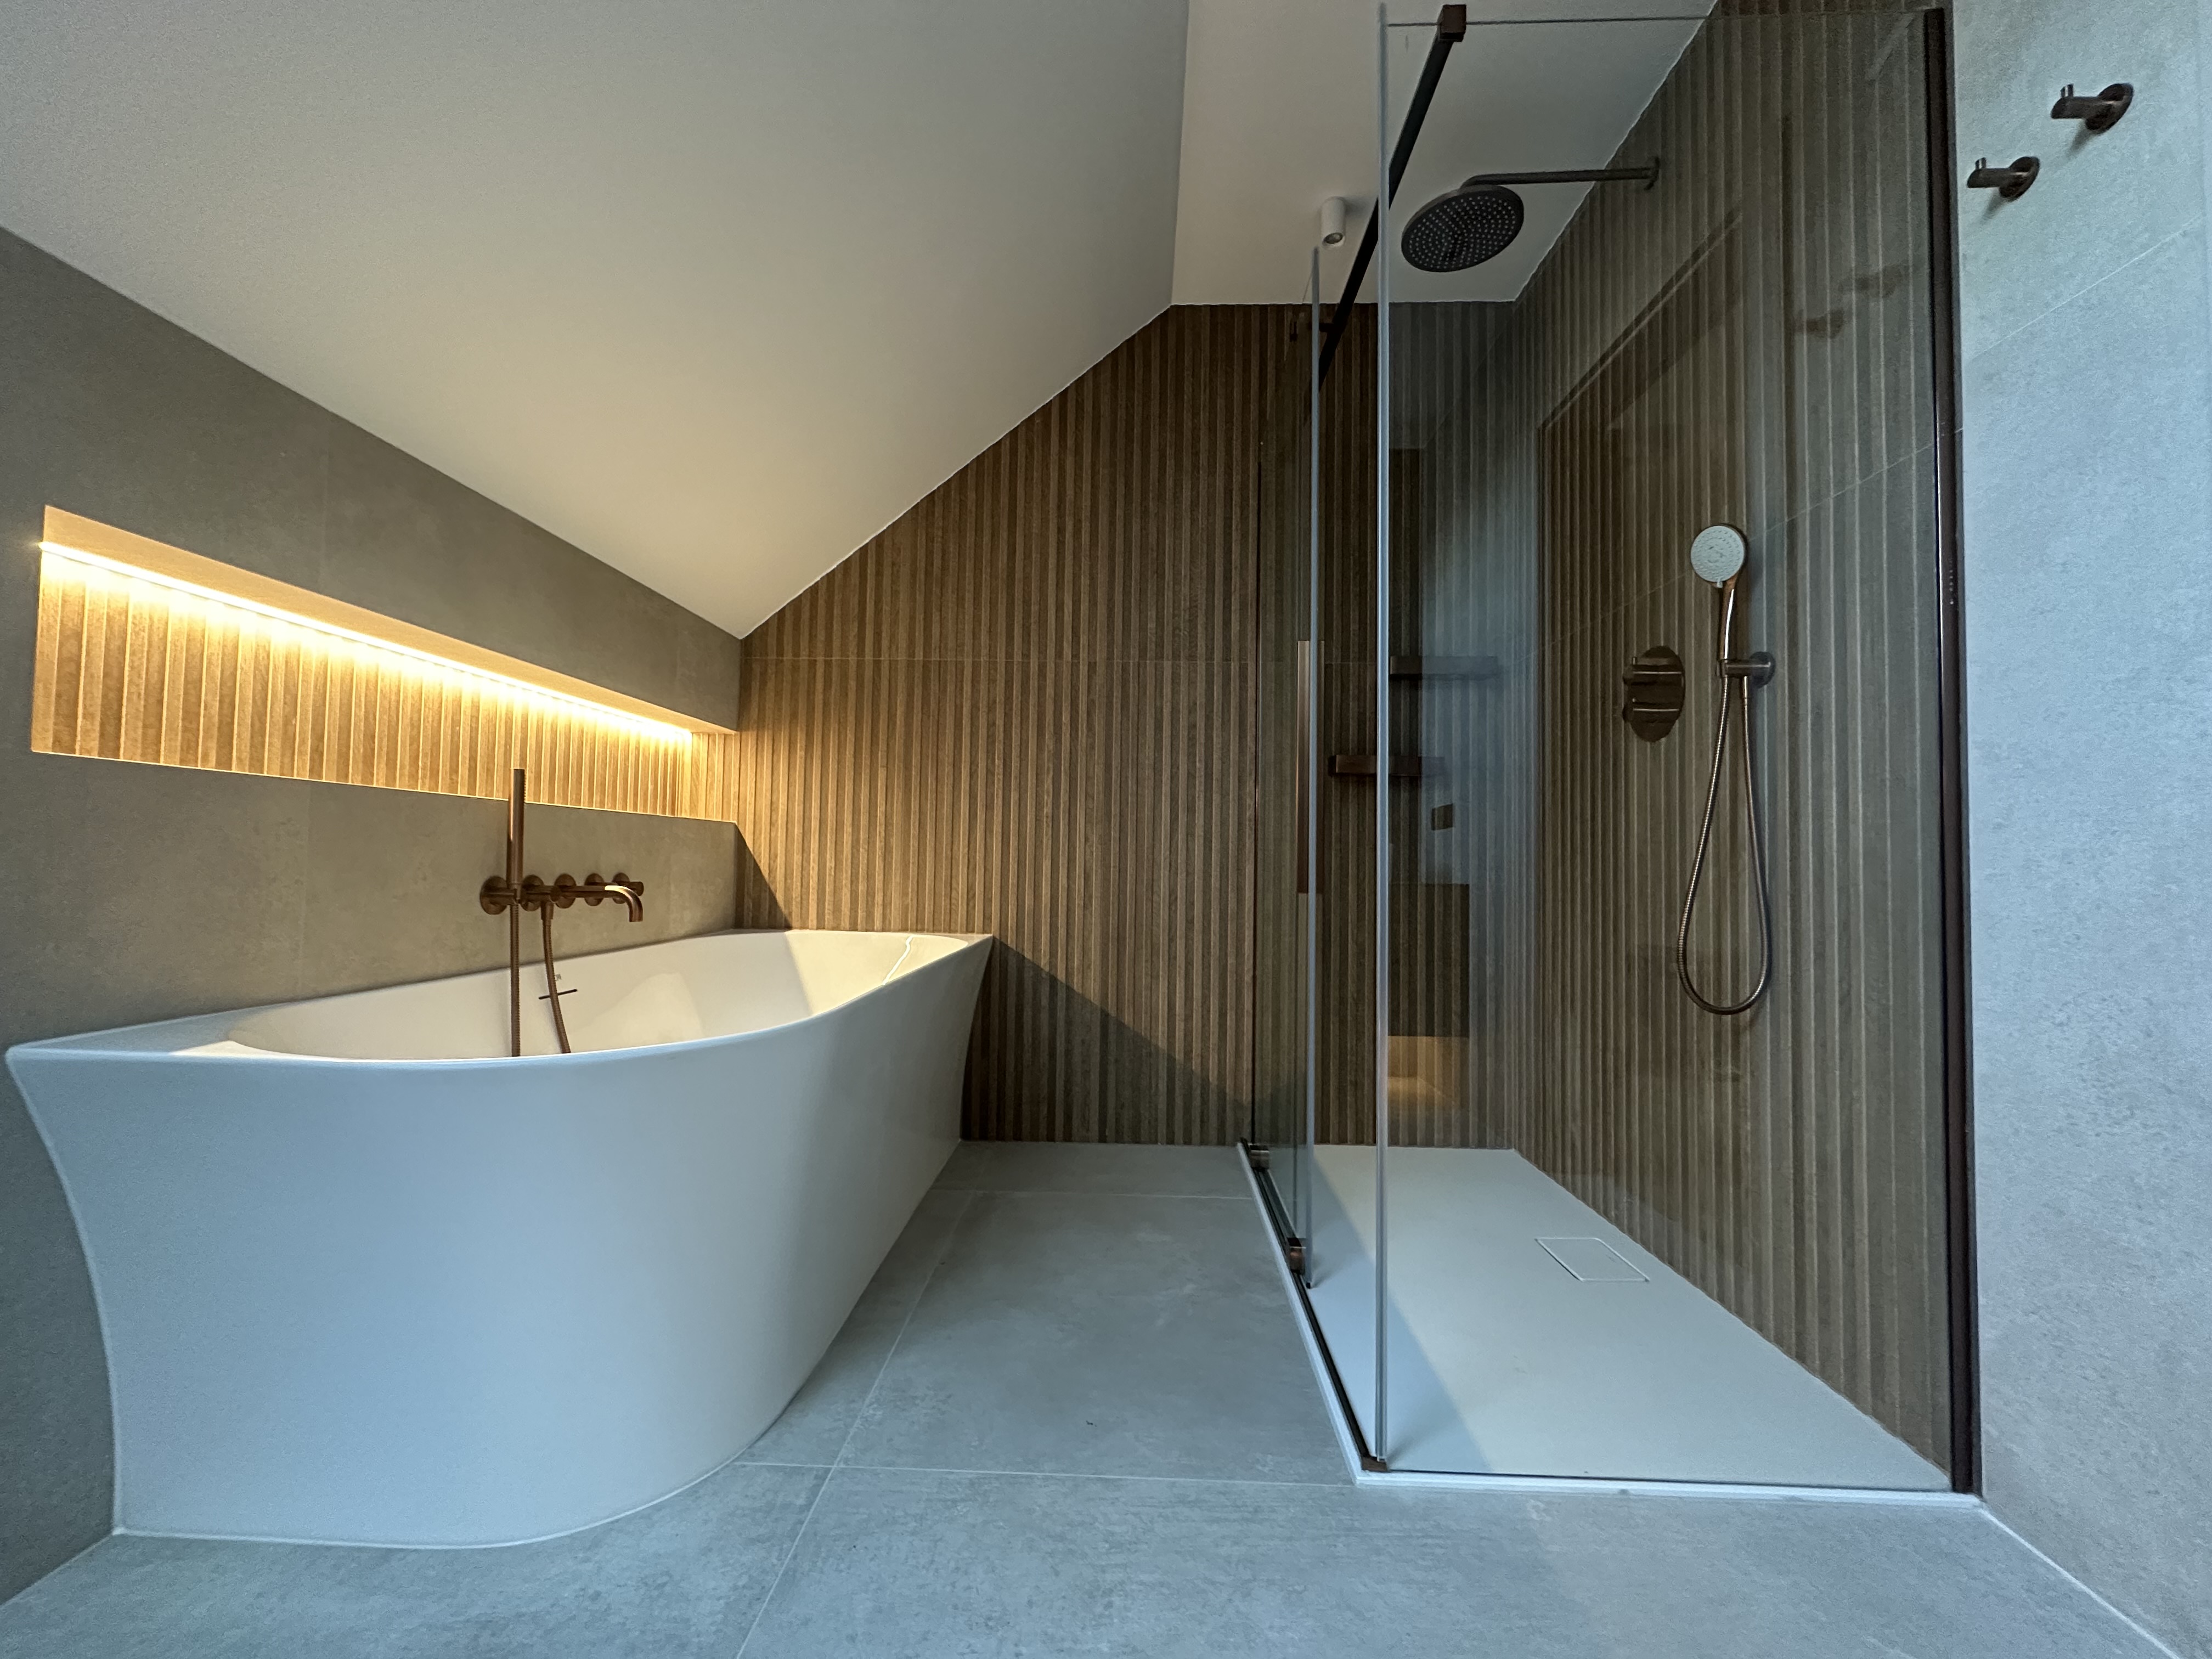
Sintered stone creates durable surfaces with minimal joints on walls, floors and worktops. We compare its properties, formats and applications to support an informed material choice.
What sintered stone is and why it differs from ceramics
Sintered stone is produced by firing rock, quartz and ceramic powders under extreme pressure and temperature (above 1,200°C). The result is a material with a density close to granite, non-porous, resistant to chemicals and UV radiation — properties that standard ceramics and porcelain stoneware do not achieve.
The most popular premium sintered-stone brands on the Polish market are Neolith (Spain), Laminam (Italy) and Lapitec (Italy). Each brand offers unique décors — from natural stone imitations to raw concrete and abstract patterns. At LOFTBAU we most frequently work with Neolith and Laminam.
Sintered-stone formats and thicknesses in the bathroom
Sintered stone is available in formats from 60×120 to 160×360 cm and thicknesses of 3, 6, 9, 12 and 20 mm. For bathroom floors we use 9–12 mm thickness (resistance to point loads). For walls and bath surrounds — 6 mm. For worktops and shelves — 12–20 mm (mechanical durability).
Using sintered stone at a single thickness on both walls and floor creates a monolithic effect — particularly valued in minimalist executions. This requires precise cutting and pattern matching (book-match) — the work of a skilled team with sintered-stone experience.
Sintered stone vs ceramic tiles — an honest comparison
Sintered stone beats ceramics in: chemical resistance (acetic acid, cleaning agents — no effect), surface hardness (6–7 Mohs vs 5–6 for ceramics), hygiene (zero porosity = no mould growth), ability to be ground and refinished without impregnation.
Its downsides are price (Neolith 120×280 costs PLN 350–600 per m² for material alone), edge vulnerability to mechanical impact at thin thicknesses (3–6 mm) and the requirement for specialist adhesive and cutting discs. Installation is approximately 20–30% more expensive than premium ceramics.
Premium bathroom pricing — Kraków
Labour from PLN 12,500 net · Free consultation
Installation requirements for sintered stone
Correct composite installation requires: a perfectly flat substrate (max deviation 1.5 mm over 2 m), manufacturer-certified composite adhesive (Mapei Granifix or Kerakoll Geoflex), diamond cutting discs for composites (not ceramic discs), a levelling system of EasyClip or DLS class and at least a 2-person team for 120×280+ formats.
Installing 6 mm composites on walls is particularly demanding — the material is flexible but edges are prone to chipping. We require cement board substrate or hybrid bonding for these. Every cut — corners, reveals, fixture cut-outs — is carried out wet with water cooling.
Maintaining sintered stone in everyday use
This is one of the greatest advantages of composites: maintenance is virtually zero. The non-porous surface requires no impregnation or specialist cleaning products — neutral-pH cleaners are sufficient. Composites are resistant to citric-acid-based products that damage ceramics and natural stone.
The only area requiring attention is the grout joint — where one is used. Most composite executions at LOFTBAU are carried out with minimal 1–1.5 mm joints or as butt-jointed edge-to-edge assemblies, giving a monolithic effect.
Most common mistakes when choosing and installing sintered stone
Mistake 1: specifying 6 mm composite for a floor. Manufacturers allow this on very stable substrates with low traffic, but in a daily-use bathroom with underfloor heating it is a recipe for cracking after one or two heating seasons. For floors we specify a minimum of 9 mm; with underfloor heating — 12 mm.
Mistake 2: commissioning installation to a team without composite experience. Composites cut differently from porcelain, requiring different blade pressure and cooling parameters. Incorrect cutting leaves edge micro-cracks invisible to the naked eye that escalate to chipping after a few weeks.
Mistake 3: saving on adhesive. For composites we require white C2TE S2 adhesive (e.g. Mapei Ultra Lite or Kerakoll H40). Grey adhesive shows through light-coloured thin composites — visible only after laying, impossible to correct without demolition.
Mistake 4: omitting perimeter expansion joints. Composites expand thermally — without a gap (minimum 6 mm) at the wall, with underfloor heating the slabs delaminate from the edge or deform at fixture connections.
Substrate preparation for composites — what we check before installation
The substrate under a composite must be perfect — literally. Flatness tolerance: maximum 1.5 mm per 2 m straightedge. With 120×280 formats and larger, any deviation is visible after laying as a wavering reflection. Before installation we check the substrate with a 2 m straightedge and laser level.
Screed moisture: cement screed must reach a maximum of 2% CM (measured with a CM moisture meter before starting), anhydrite — maximum 0.5%. Composites are non-porous and do not allow moisture to pass — the mortar beneath the slab must be dry, or the adhesive will not bond correctly.
Priming: on cement screeds we apply Mapei Primer G or Kerakoll Primer A. On anhydrite substrates — a dedicated primer (Mapei Eco Prim Grip or equivalent) is non-negotiable. Omitting priming reduces adhesive bond strength by 30–40% and is the most common cause of hollow spots beneath composites.